
Zirconia Stain and Glaze Guide: Natural Results on Monolithic Crowns
A well-milled monolithic crown can still look flat and artificial if it leaves the lab as a single, uniform color. Good zirconia stain and glaze work is what turns that crown into a restoration that blends in next to natural teeth: warmer at the neck, deeper in the fissures, more translucent at the edge and finished with a natural, even shine. This guide covers surface preparation, where to place stain, how to apply glaze, firing, and the mistakes that most often spoil the final result.
Why characterize monolithic zirconia?
Natural teeth are never one color. Chroma is highest near the gum line, the occlusal anatomy shows darker pits and fissures, and the incisal edge looks lighter, bluish or gray because of enamel translucency. Pre-shaded and multilayer discs already give you a good base, but surface characterization adds the small details that the eye picks up immediately. It also lets you fine-tune a crown that is slightly too light or too low in chroma compared with the shade tab or the photo from the clinic.
Stains and glaze are not a fix for a wrong base shade, though. Start with the right disc and, for multilayer material, the right position in the disc, as explained in our multilayer zirconia guide. Characterization should refine a good restoration, not rescue a poor one.
Preparing the surface
Staining and glazing are done on fully sintered zirconia, so the result depends on a correct sintering cycle first. A crown that came out chalky or with the wrong shade will not be saved by stain. Our zirconia sintering guide covers the programs and the common furnace problems.
- Check fit and contacts first. Make any adjustments to margins, contacts and occlusion before characterization, not after glazing.
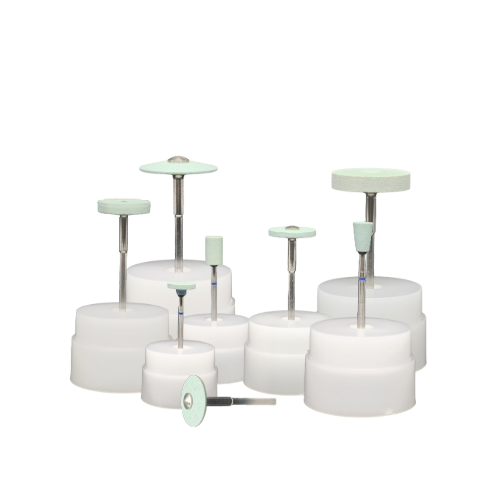
- Refine the surface carefully. Use suitable fine diamonds or rubber polishers for zirconia and avoid heavy grinding that heats the surface.
- Clean thoroughly. Remove grinding dust, oil and fingerprints, for example with a steam cleaner or ultrasonic cleaning, then let the restoration dry completely.
- Handle with clean tools. After cleaning, hold the restoration with tweezers or a firing peg rather than bare fingers.
Where to apply stain
Think of stain as small, deliberate accents rather than a color coat over the whole crown. Work under good, color-neutral light and compare with the shade guide as you go.
- Cervical chroma. Add a warm base color in the cervical third and blend it out toward the middle of the crown. This is often the single most effective step for a natural look.
- Fissures and fossae. On posterior teeth, place a fine line of brown or orange-brown into the deepest part of the fissures to give depth. Keep it thin and inside the anatomy so it does not look drawn on.
- Incisal effects. A thin touch of blue, gray or blue-gray at the incisal edge and cusp tips imitates enamel translucency. White can be used sparingly for halo effects or small calcification spots.
- Mamelons. On anterior crowns, soft vertical strokes of a light orange or warm color between thin blue or gray lines can suggest mamelon structure. Less is more: they should be visible only on close inspection.
UPCERA Stains are available in base colors (Base A, Base B, Base C, Base D and Base 0) and a wide range of effect colors, including Grey, Grey Black, Blue, Blue Grey, Orange, Brown, Redish Brown, Black, White, Yellow, Purple, Olive Yellow, Olive Green, Pink and Dark Pink. Pink shades are useful for gingival areas on implant-supported work.
Applying glaze: a thin, even layer
Glaze seals the surface and gives the final gloss. In general terms there are two forms: paste glazes, applied with a brush, which give good control on detailed anatomy, and spray glazes, which are fast for coating larger surfaces evenly but give less control in fissures. Whichever you use, the goal is the same: a thin, even film that follows the anatomy without filling it.
UPCERA Realism Glaze is a universal 3D stain and glaze paste system for sintered zirconia and lithium disilicate. Because the pigments are suspended in a paste, it allows micro-layering of color without stacking porcelain. It is offered as Glaze, Glaze Fluo and Glaze Liquid. The manufacturer’s application tips are practical for any lab:
- Stir before use. The binder and pigments separate in the jar over time, so mix the paste with a non-metallic spatula.
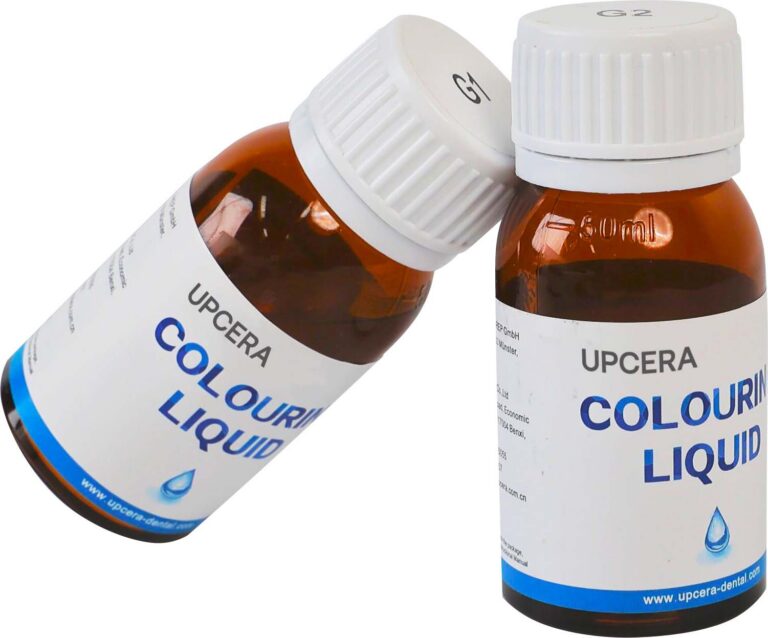
- Thin only with the dedicated Glaze Liquid. A thinner consistency suits subtle incisal transitions, but over-diluted glaze can run during firing.
- Avoid pooling. Heavy glaze in the occlusal fossa hides the milled anatomy and looks unnatural.
Firing stain and glaze
Always follow the firing instructions of the stain and glaze you are using, including drying time, heating rate, final temperature and cooling. For UPCERA Realism Glaze, the stated standard firing temperature is between 760 °C and 830 °C. For multi-unit bridges of more than three units, the manufacturer advises reducing the heating and cooling rates from 45 °C/min to 30 °C/min to prevent the zirconia from cracking under thermal stress. Place restorations on a suitable firing tray or pegs so glaze does not touch the support, and let them cool as the program specifies before handling.
If you need more character after the first firing, add a little stain and fire again rather than applying everything in one heavy layer. Keep the number of corrective firings low.
Glaze or high polish?
Many labs combine both. A high polish with zirconia polishing systems is widely recommended on occlusal contact areas, because a smooth, polished zirconia surface is gentle on the opposing teeth and a glaze layer on contacts can wear away over time. Glaze is the natural choice for stained surfaces, since it protects the characterization and gives an even, lifelike luster on the buccal and labial faces. A common approach is to polish the functional contacts and glaze the visible surfaces, or to polish first and then glaze selectively.
Matching VITA shades
Choose a disc or base shade as close as possible to the prescribed VITA shade, then use stain to adjust. Raising chroma with stain is straightforward; making a crown lighter is much harder, so when in doubt start slightly lighter rather than darker. Compare the finished crown with the shade tab under the same light, and remember that a glazed surface looks slightly different from an unglazed one. The UPCERA Stain Kits include a stain shade guide: the Large Kit contains all colors and effects, a staining brush, glaze liquid and the shade guide, while the Small Kit contains the most used colors, glaze liquid and a shade guide.
Common stain and glaze mistakes
| Mistake | What you see | How to avoid it |
|---|---|---|
| Glaze too thick | Glassy, artificial look, filled fissures, lost anatomy, possible change in contacts | Apply a thin, even film and avoid pooling in fossae |
| Contamination | Spots, bubbles, gray areas or uneven gloss | Clean and dry the surface fully, handle with tweezers, keep brushes and mixing surfaces clean |
| Too much stain | Dirty, opaque or painted-on appearance | Build color in thin layers and use effect colors sparingly |
| Over-diluted glaze | Glaze runs during firing and pools in low areas | Thin only with the dedicated liquid and keep a creamy consistency |
| Overfiring or wrong program | Overly shiny or glassy surface, color shift, or poorly matured glaze if underfired | Follow the stain and glaze firing instructions and check furnace calibration |
| Fast heating or cooling on bridges | Cracks in multi-unit restorations | Use the reduced heating and cooling rates recommended for larger bridges |
Multilayer vs ST zirconia: staining tips
- Multilayer discs (DUO, Explore, Aevra). The shade gradient is already built in, so keep staining minimal: a touch of cervical warmth, fine fissure lines and light incisal effects. Heavy stain can cover the natural transition you paid for.
- Pre-shaded single-color discs (ST Color). The color is uniform from neck to edge, so characterization does more of the work. Add more cervical chroma, define the incisal area with blue or gray effects and give posterior teeth clear fissure depth.
- Posterior high-strength work. Keep stain and glaze away from heavy occlusal contacts where possible and polish those areas instead.
UPCERA stains and glaze from Aqras Medical
As the official UPCERA partner in Saudi Arabia, we supply UPCERA Stains, Realism Glaze and Stain Kits, together with the UPCERA zirconia discs they are used on. Add the items you need to your quote request or message us on WhatsApp, and we will reply with availability and a quotation.
Frequently asked questions
Do I stain zirconia before or after sintering?
Stains and glaze are applied to fully sintered zirconia and then fired in a separate stain and glaze firing. Coloring liquids, by contrast, are applied before sintering.
What temperature is UPCERA Realism Glaze fired at?
The stated standard firing temperature is between 760 °C and 830 °C. Always follow the full firing instructions, and for bridges of more than three units reduce the heating and cooling rates from 45 °C/min to 30 °C/min.
Why does my glazed zirconia look glassy and artificial?
The most common causes are glaze applied too thickly, glaze pooling in the fossae and overfiring. Apply a thin, even layer and follow the firing program for the glaze you use.
Should I glaze or polish zirconia?
Many labs do both: they polish occlusal contact areas to a high shine and glaze the visible stained surfaces. A polished zirconia surface is widely recommended where the crown meets the opposing teeth.
Does multilayer zirconia need staining?
Usually only a little. Multilayer discs already have a built-in shade gradient, so light cervical, fissure and incisal accents are enough. Single-color discs such as ST Color benefit from more characterization.