Dental 3D Printing for Labs: Printer, Resin, Wash and Cure
A dental 3D printer has become one of the most useful machines in a modern dental lab. It turns an intraoral scan or a digital design into a physical model within hours, without plaster, impressions or pouring. But good printed models do not come from the printer alone: the resin, the washing, the post-curing and the daily maintenance all decide whether a model is accurate or useless. This guide walks through the complete workflow and explains how to choose and care for your equipment.
What do dental labs print?
Most labs start with models, because they replace the most time-consuming analog work. With dedicated dental model and orthodontic resins, the typical applications are:
- Working and study models for crown and bridge work, case planning and presentations.
- Orthodontic models, including the models that clear aligners and retainers are thermoformed on.
- Archive copies of a case that can be reprinted from the digital file instead of storing plaster.
Always check the resin manufacturer’s instructions for the exact indications. Model and orthodontic resins are made for models used in the lab; they are not materials for restorations or appliances placed in the patient’s mouth.
The dental 3D printing workflow step by step
- Scan and design. The case starts as an intraoral scan or a scanned impression. The model is designed or prepared in dental CAD software and exported, usually as an STL file.
- Slicing. The slicer orients the models, adds supports if needed, arranges them on the build plate and cuts them into thin layers. Here you choose the resin profile and layer thickness recommended for your resin.
- Printing. The printer cures the resin layer by layer with UV light through the screen and the release film of the resin tank.
- Washing. Freshly printed parts are covered with uncured liquid resin, which must be washed off, usually in isopropyl alcohol or the cleaning liquid the resin manufacturer recommends.
- Drying and post-curing. After the parts are completely dry, they are cured under UV light to reach their final hardness and dimensional stability.
- Finishing. Remove supports, check the margins and contacts, and the model is ready for the case.
How to choose a dental 3D printer
Most dental labs use resin printers based on MSLA technology, where an LCD screen masks the UV light to cure a full layer at once. When you compare printers, focus on what affects your daily output:
- Resolution. XY resolution and Z-axis precision decide how sharp margins, contact areas and fine anatomy appear. For crown and bridge models, finer detail means less manual correction.
- Build size. A larger build area lets you print more arches in one job. Since every layer is cured at once, a full plate often takes about as long as a single model of the same height.
- Reliability. A failed overnight print costs a whole day. Features such as print monitoring, stable resin temperature and a rigid, well-leveled build plate reduce failures.
- Workflow and support. Check which slicer the printer uses, how files are transferred, and whether spare parts such as tanks and build plates are available locally.
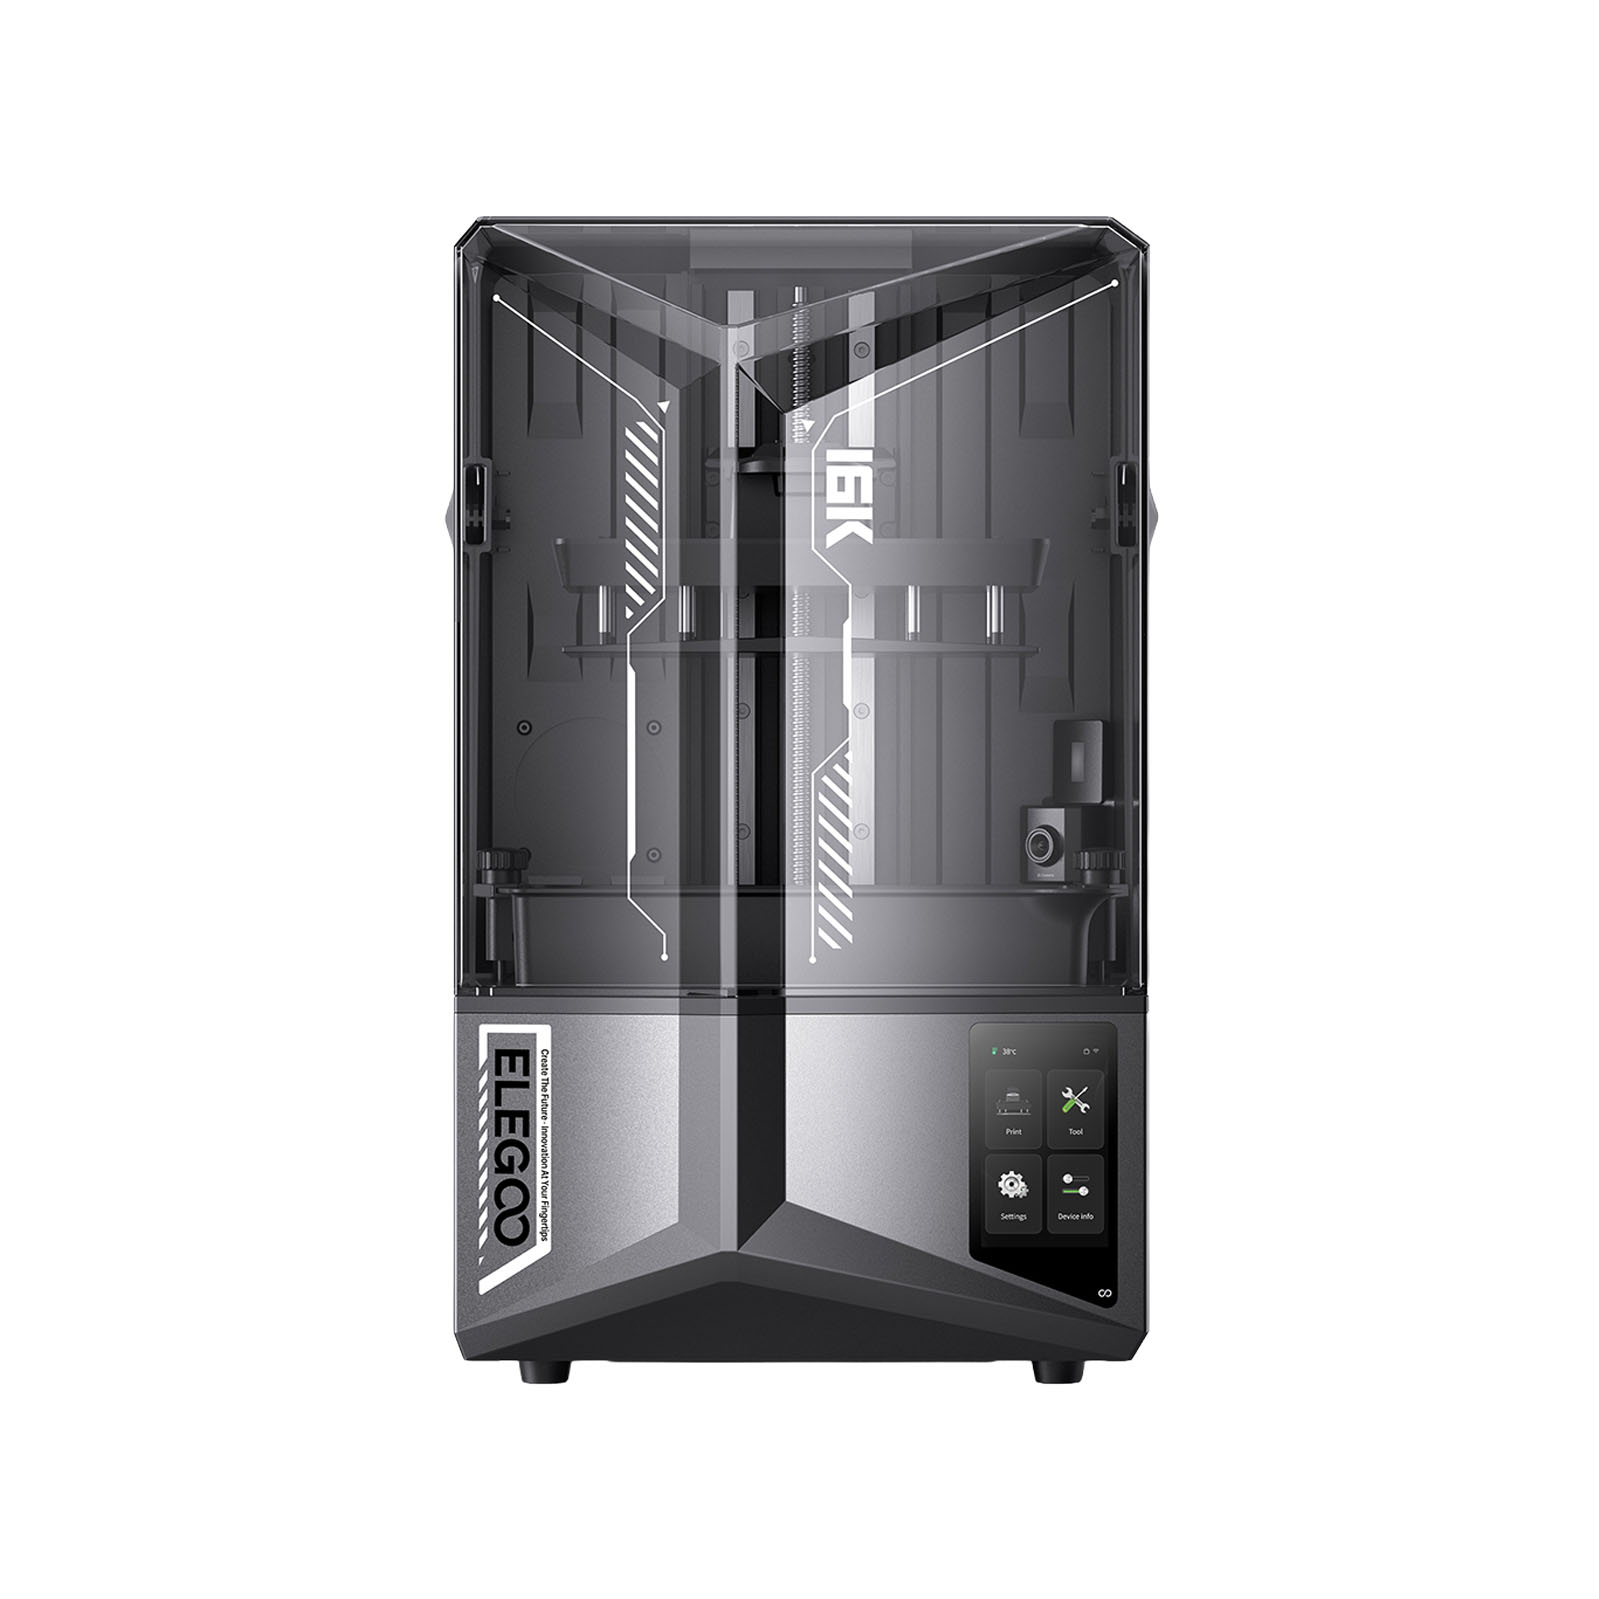
The ELEGOO Saturn 4 Ultra 16K is a good example of what labs look for. It is an MSLA printer with a COB light source at 405 nm, an XY resolution of 14 × 19 μm, a Z-axis precision of 0.02 mm and layer thickness from 0.01 to 0.2 mm. Its build volume is 211.68 × 118.37 × 220 mm. It works with CHITUBOX, connects by USB or Wi-Fi, and has a built-in AI camera (1920 × 1080) for monitoring prints. You can see more machines in our 3D printers category.
Choosing the right dental resin
Use a resin made for the job rather than a general hobby resin. Dental resins are formulated for dimensional accuracy and for a surface that suits lab work.
- ELEGOO Dental Model Resin is intended for dental models used in restorative work, case planning and presentation. It is available in grey, orange and green.
- ELEGOO Dental Orthodontic Resin is intended for orthodontic models, such as the models used for thermoforming aligners and retainers. It is also available in grey, orange and green.
Whatever resin you use, take the exposure settings and post-curing instructions from the resin manufacturer and run a calibration print when you open a new resin or change printers.
Washing and post-curing
Washing and curing are where many accurate prints are spoiled. Under-washed parts stay sticky and lose detail, while parts left too long in alcohol can swell or crack. Curing a wet part can leave a white film, and under-cured models stay soft and may distort later.
A combined wash and cure station keeps this step consistent. The ELEGOO Mercury Plus V3 Wash & Cure has a wash capacity of up to 7.5 L and a curing area of ∅250 × 290 mm. Its adjustable PP basket fits build plates up to 10 inches, so models can be washed directly on the build plate. For curing it uses 24 UV lights at 405 nm with a rotating transparent turntable and a reflective base for even exposure. The UV-blocking yellow cover filters out 99.9% of UV light, and a safety switch pauses curing if the cover is removed.
Follow the wash and cure times in your resin’s instructions, change the cleaning liquid when it becomes saturated, and let parts dry completely before curing.
Common dental 3D printing problems and their causes
| Problem | Most likely causes |
|---|---|
| Print does not stick to the build plate | Build plate not leveled, dirty or greasy plate, bottom exposure too low, resin too cold |
| Print failed halfway or layers separated | Worn or damaged release film, cured debris in the tank, weak supports, resin not mixed |
| Models are inaccurate or do not fit | Wrong resin profile or exposure, no calibration print, incomplete post-curing, wrong orientation |
| Sticky or tacky surface | Insufficient washing, saturated cleaning liquid, under-curing |
| White residue or cracks after curing | Parts cured while still wet, too long in alcohol, over-curing |
Maintenance: tank, build plate, resin and temperature
- Resin tank and release film. Inspect the film for scratches, cloudiness or punctures, and never scrape it with metal tools. After a failed print, remove cured fragments before the next job. The original ELEGOO Saturn 4 Resin Tank MSLA comes with a PFA release liner film pre-installed, is made of aluminum alloy and has clear MAX and MIN lines for the resin level.
- Build plate. Keep it clean, check the leveling as the printer manual describes, and replace it if it is damaged. A spare ELEGOO Saturn 4 Build Plate also lets one plate be washed while the next job prints.
- Resin handling. Shake or stir the resin before printing, keep bottles closed and away from sunlight, and filter used resin before pouring it back into the bottle.
- Temperature. Cold resin is thicker and causes failed prints. The Saturn 4 resin tank has a heating function that keeps the resin at around 30 °C; in any case, keep the room at a stable temperature and away from air-conditioning drafts.
Safety in the printing room
Uncured resin can irritate the skin and cause sensitization with repeated contact. Always wear nitrile gloves and safety glasses when handling resin and fresh prints, work in a well-ventilated area, and keep isopropyl alcohol away from heat and flames. Read the safety data sheet of each resin, and dispose of resin waste and used cleaning liquid according to local regulations rather than pouring them down the drain.
Common mistakes to avoid
- Using a general-purpose resin for dental models and expecting dental accuracy.
- Skipping the calibration print after changing resin, printer or room conditions.
- Washing too briefly, or reusing the same alcohol long after it is saturated.
- Curing parts while they are still wet, or skipping post-curing to save time.
- Ignoring a worn release film until prints start failing.
ELEGOO dental 3D printing from Aqras Medical
As the official ELEGOO partner in Saudi Arabia, we supply the complete chain for dental labs: the Saturn 4 Ultra 16K printer, the Mercury Plus V3 wash and cure station, dental model and orthodontic resins, and original resin tanks and build plates. Add the items you need to your quote request or message us on WhatsApp, and we will reply with availability and a quotation.
Frequently asked questions
What can a dental lab print with a resin 3D printer?
With dental model and orthodontic resins, labs mainly print working and study models, orthodontic models and the models used for thermoforming aligners and retainers. Always check the resin manufacturer’s instructions for the exact indications.
What is the difference between dental model resin and orthodontic resin?
Dental model resin is intended for models used in restorative work and case planning, while orthodontic resin is intended for orthodontic models such as aligner models. Both ELEGOO resins are available in grey, orange and green.
Do printed dental models need washing and post-curing?
Yes. Washing removes uncured resin from the surface, and post-curing gives the model its final hardness and stability. Let the parts dry completely before curing and follow the times in the resin’s instructions.
Why do my prints not stick to the build plate?
The usual causes are a build plate that is not leveled or not clean, bottom exposure that is too low for the resin, and resin that is too cold. Check the leveling, clean the plate and use the resin manufacturer’s settings.
When should I replace the resin tank or release film?
Replace it when the film is scratched, cloudy, punctured or loose, or when prints start failing in the same area. Never scrape the film with metal tools, and remove cured debris after every failed print.