Zirconia Coloring Liquids: A Step-by-Step Guide
A zirconia coloring liquid turns a white milled restoration into a crown that matches the patient’s shade. Used well, it gives you full control over color from a single white disc. Used carelessly, it causes blotchy shades, dark margins and even cracks in the furnace. This step-by-step guide explains when to use coloring liquids, how to apply them by dipping or brushing, why drying before sintering is critical and how to avoid the most common mistakes.
What is a zirconia coloring liquid?
Coloring liquids are solutions of coloring agents that soak into the porous structure of pre-sintered zirconia. Nothing seems to happen at first: the restoration may look only faintly tinted, or not tinted at all. The real shade develops in the furnace, when the coloring agents become part of the dense, sintered zirconia. Because the color sits inside the material rather than on its surface, it does not wear away like surface stain.
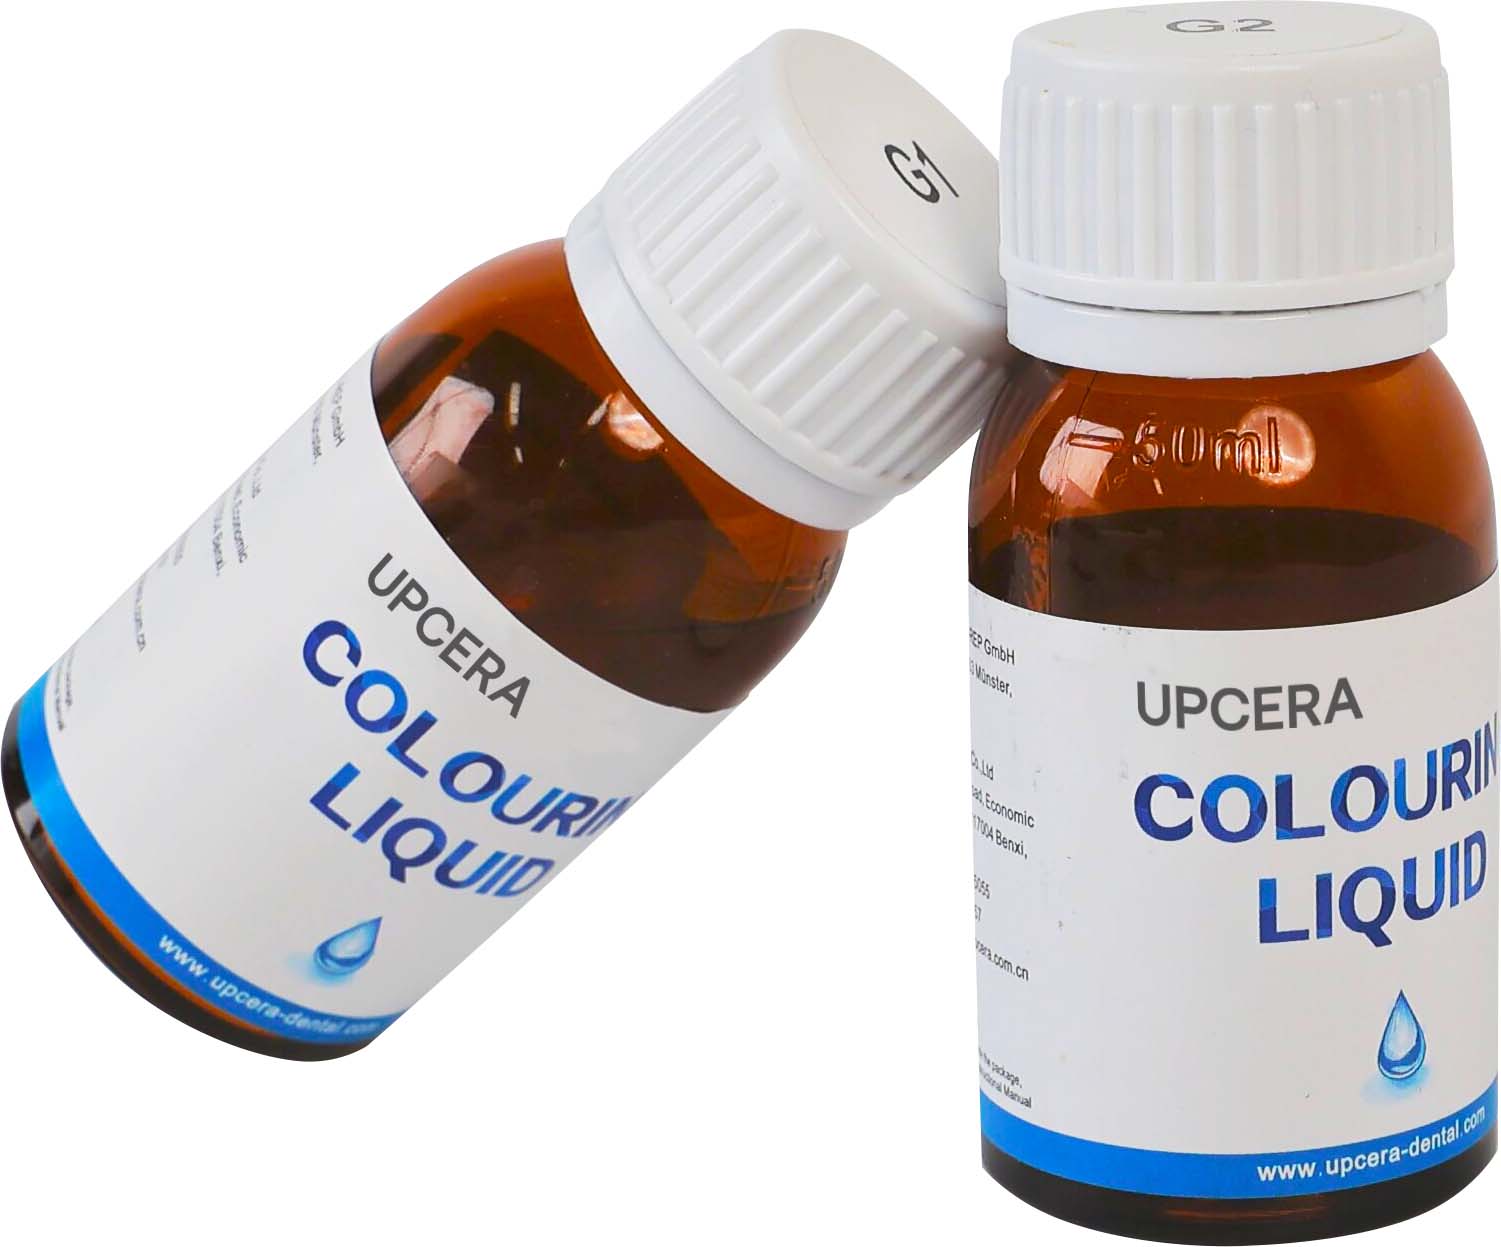
UPCERA ST Coloring Liquids are made to match the 16 VITA Classic shades: A1, A2, A3, A3.5, A4, B1, B2, B3, B4, C1, C2, C3, C4, D1, D2 and D3.
Coloring liquids or pre-shaded discs?
Many labs use both. White zirconia with coloring liquids gives flexibility, while pre-shaded and multilayer discs give speed and consistency. The table below summarizes the main differences.
| Point | White zirconia + coloring liquids | Pre-shaded or multilayer discs |
|---|---|---|
| Shade control | Any of the 16 VITA shades from one white disc, with custom effects | Shade is built into the disc |
| Disc stock | Fewer discs to keep in stock | One disc per shade (or shade group) |
| Working time | Extra steps: coloring and drying | Mill, sinter and finish |
| Consistency | Depends on technique and timing | Very consistent from unit to unit |
| Typical use | Full-contour posterior crowns and bridges, frameworks, custom shades | Fast, high-volume cases and aesthetic multilayer work |
A good example of a white disc made for coloring is UPCERA ST White, a 3Y-TZP zirconia with a strength of 1,300 MPa and 43% translucency that sinters at 1,530 °C. Its high strength makes it a solid choice for posterior crowns and bridges where you want to set the shade yourself. If you are still deciding which zirconia generation suits a case, read our comparison of 3Y vs 4Y vs 5Y zirconia.
Step 1: Prepare the milled restoration
- Finish before coloring. Remove sprues and adjust contours in the pre-sintered state, then clean off all milling dust with a soft brush or oil-free air. Dust left on the surface absorbs liquid unevenly and leaves spots.
- Make sure the restoration is dry. If it was milled wet or rinsed, dry it as the manufacturer recommends before applying any liquid, so the zirconia can absorb the liquid evenly.
- Avoid contamination. Handle the restoration with clean, powder-free gloves. Skin oil, lotion and metal tools can block absorption or discolor the zirconia.
Step 2: Apply the liquid by dipping or brushing
There are two main techniques, and many technicians combine them.
- Dipping (immersion). The restoration is fully immersed in the shade liquid for the time stated in the instructions, then lifted out and the excess removed. Dipping gives an even base shade and works well for frameworks and bridges. Use plastic tweezers, never metal, and a clean, covered container.
- Brushing (painting). The liquid is applied with a dedicated brush in a set number of layers. Brushing gives more control: you can add more layers in the cervical area for more chroma and fewer at the incisal edge. Keep one clean brush for each liquid so shades do not mix.
Whichever method you choose, the shade depends on concentration, number of layers and immersion time. Follow the liquid’s instructions and keep your own routine identical every time, so the same shade gives the same result.
Step 3: Add effect and incisal liquids
Base shades give you the overall color, but natural teeth are not one color. UPCERA Pre-Sintering Liquids add characterization before sintering:
- E0 (diluent): contains no pigment and is used to dilute the 16 VITA base liquids to lower their chroma. It is not used on its own and is mainly used with ST White.
- T0 (transparent treatment): increases light transmission and is applied to the incisal third to mimic natural enamel translucency. It is mainly used with ST Color.
- O1, O2 (fossa area): add warmth, chroma and depth to pits, fissures and occlusal fossae of posterior teeth.
- G1, G2 (incisal area): reproduce the opalescent, grayish-blue tint of enamel on incisal edges, cusp tips and marginal ridges.
- P1, P2, P3 (gingival area): light to dark pink for artificial gingiva on large implant frameworks and all-on-X prostheses.
- Blue, Brown, Purple, Pink: concentrated modifiers for custom characterization, used in small amounts.
Tip for pre-shaded zirconia: liquids are not only for white discs. Applying T0 to the incisal area of a pre-shaded UPCERA ST Color restoration before sintering gives a more natural incisal translucency, without changing the body shade.
Step 4: Dry completely before sintering
This is the step that is most often rushed, and it is critical. A colored restoration is full of liquid. If it goes into the furnace wet, the moisture turns to vapor during heating, which can cause cracks, and the color can migrate and leave spots or uneven shade.
Always follow the drying instructions of the liquid you use. As a general example, manufacturers commonly specify drying of roughly 30–60 minutes at around 80 °C, or under an infrared lamp, before sintering. Larger restorations and thick bridges hold more liquid and need the full drying time. Never place a damp restoration directly into a hot furnace.
Step 5: Sinter and check the shade
Sinter with the program for the exact material, for example 1,530 °C for ST White, and place the restorations in a covered saggar so they stay clean. For heating, holding and cooling details, see our zirconia sintering guide.
After cooling, check the shade against a shade guide under consistent, daylight-quality light. Compare the cervical, body and incisal areas separately. If the result is off, note the liquid, the number of layers or immersion time and the drying time, so you can correct your routine for the next case. Glazing and surface stain can make small final adjustments, but they cannot fully correct a wrong base shade.
Common mistakes with coloring liquids
- Liquid too concentrated or too many layers. The result is too dark or too chromatic. Use E0 to dilute when needed and count your layers.
- Not drying long enough. A classic cause of cracks, spots and color bleeding during sintering.
- Contamination. Metal tweezers, dirty brushes, used liquid or skin oil can give gray, green or patchy areas. Keep liquids closed and never pour used liquid back into the bottle.
- Uneven application. Pooling in fissures or on the intaglio surface creates dark spots. Remove excess liquid and apply layers evenly.
- Coloring a dusty or wet restoration. Absorption becomes uneven, and the shade looks blotchy after sintering.
Practical tips for consistent shades
- Make a shade tab for each liquid and technique you use, and keep it next to your shade guide.
- Write down a standard routine for each shade (layers or immersion time, drying time) so every technician works the same way.
- Shake or stir liquids as the instructions say, keep bottles closed and store them as the manufacturer recommends.
- Use separate, labeled brushes and containers for each liquid.
UPCERA coloring liquids from Aqras Medical
As the official UPCERA partner in Saudi Arabia, we supply ST Coloring Liquids in all 16 VITA Classic shades, Pre-Sintering Liquids for effects and characterization, and ST White and ST Color zirconia discs.
Need coloring liquids, zirconia discs or advice on your coloring routine? Add the items to your quote request or message us on WhatsApp, and we will reply with availability and a quotation.
Frequently asked questions
What is a zirconia coloring liquid used for?
It is applied to white, pre-sintered zirconia to give the restoration its final tooth shade. The liquid soaks into the porous zirconia, and the shade develops during sintering. UPCERA ST Coloring Liquids match the 16 VITA Classic shades.
Is dipping or brushing better?
Dipping gives an even base shade and suits frameworks and bridges, while brushing gives more control over chroma in different areas. Many technicians dip for the base shade and brush for effects. Follow the liquid’s instructions for either method.
How long should colored zirconia dry before sintering?
Always follow the liquid’s instructions. Manufacturers commonly specify roughly 30 to 60 minutes at around 80 °C or under an infrared lamp. Large restorations and thick bridges need the full drying time.
Why is my colored zirconia darker than the shade guide?
The most common causes are a liquid that is too concentrated, too many layers or too long an immersion time. Diluting with E0 and keeping a fixed routine for each shade helps. A wrong sintering program can also shift the shade.
Can I use liquids on pre-shaded zirconia?
Yes, for effects. For example, applying T0 to the incisal area of pre-shaded UPCERA ST Color before sintering gives a more natural incisal translucency.